Laser Engraver
User manual for CNC Laser Engraver STation in the I4.0 modelfactory
GUI: 149.201.219.192/webvisu
GUI Admin account: sr: Admin, pwd: admin
GUI normal user account: usr: Operator, pwd: user
General System Usage
Starting up the station
Follow these steps to make the laser engraver operational.
- Ensure that the red main switch is in the OFF position (horizontal).
- Open the electrical cabinet and check that the breaker is set to ON. Close it after checking.
- Connect the station to the internet. An RJ45 (for LAN/Ethernet) Port is located on the right side of the electrical cabinet.
- Connect the main plug to a socket.
- Turn the main switch clockwise to the ON position.
The white indicator light on the electrical cabinet shows if the cabinet is provided with power.
The PLC will now start up. If the safety circuit is not acknowledged, a red light will light up static on the signal tower and the electrical cabinet.
The laser engraving station is now operational.
Safety Circuit
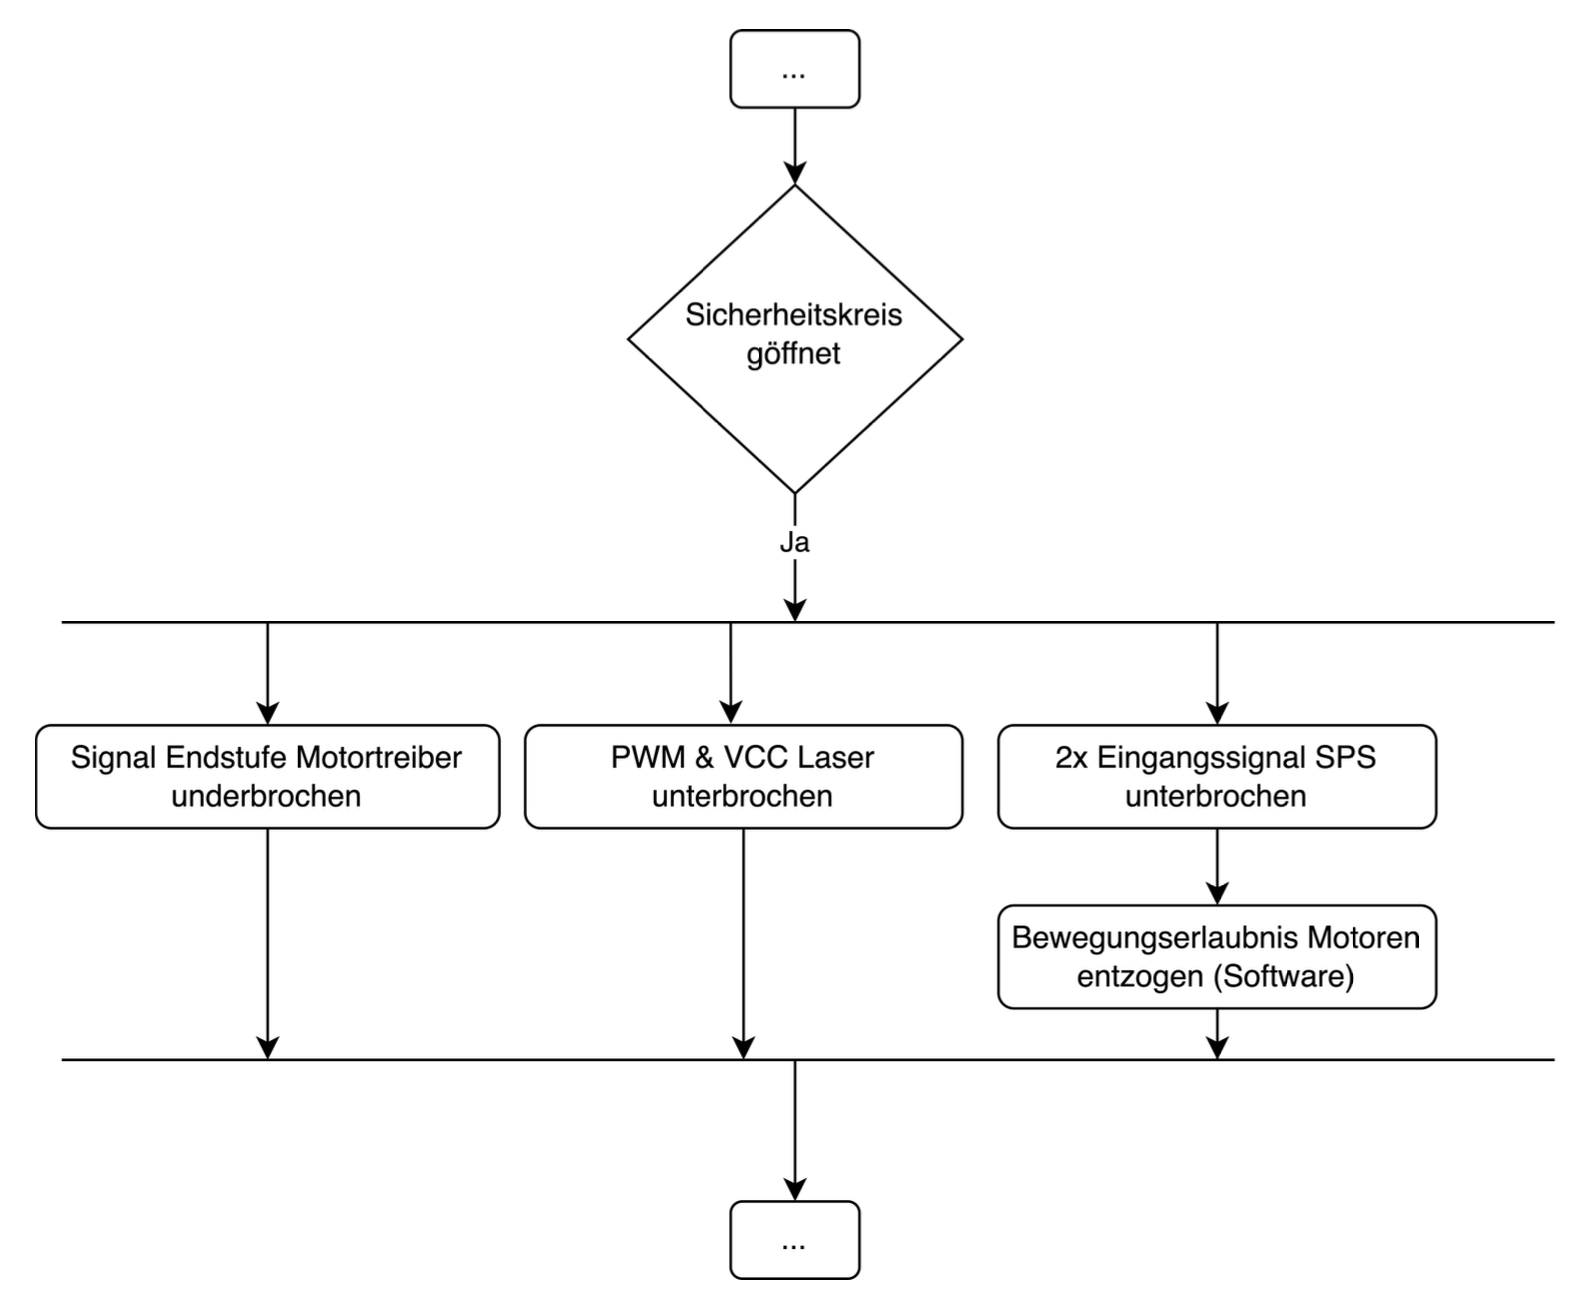
The 2-channel safety circuit must be closed for the machine to operate.
The safety circuit consists our of door-contacts, emergency-halt buttons and a key-operated switch in the lid of the electrical cabinet.
If the safety circuit is not closed, a blue light in the lid of the electrical cabinet, and on the front of the machine will blink. This indicated the need for acknowledgement of the safety circuit
If the safety circuit is not closed, the HIGH signal to the DI1 on the Wago 750-672 Stepper Drivers, is interrupted, the Power to the laser is cut and the PWM input on the laser is pulled to Ground.

Before acknowledging the safety circuit, check that: the big front door is closed the small door on the right side of the machine is closed all the emergency-halt buttons are releases (in the electrical cabinet, on the front of the machine, on the right side of the machine) the key-operated switch in the lid of the electrical cabinet is set to the ON or 1 position.
To acknowledge the safety circuit, now press the acknowledgement button on the fron of the machine. The button is blinking blue an is located on the left side of the front. If the acknowledgement worked, the GUI now shows a different status message, the blue button stops blinking, and the signal tower, switches its light to green.
If the Lasermodule is connected correctly, the laser is now able to pulse! DO NOT bend down and look under the front door. Looking into the laser can damage your eyes!!! If you stand close to the machine, wear the laser safety glasses to minimize any risk!
Operate the machine
The GUI of the Laserengraver is callable from every device with a webbrowser, that is connected to the same network as the PLC. If you are in the modelfactory, call the station’s IP-address (149.201.218.192) with the /webvisu extension.
call 149.201.218.192/webvisu in your webbrowser
To operate the machine, you need to be logged-in. On the start or the maintenance tab, click on Login. Use the corresponding credentials to log in the GUI. The text fields in the GUI will always keep you updated on the current status of the machine, and what you are supposed to do next!
If you are not logged in, the start-Button, to start actions will NOT work.
Manual Mode The manual mode allows the operator to manually move the axis by pressing the correspinding buttons in the GUI. If the machine is in IDLE state, press the start-button. The machine enters the MENU state. * Switch to the MODESELECT tab, press Manual, press start.

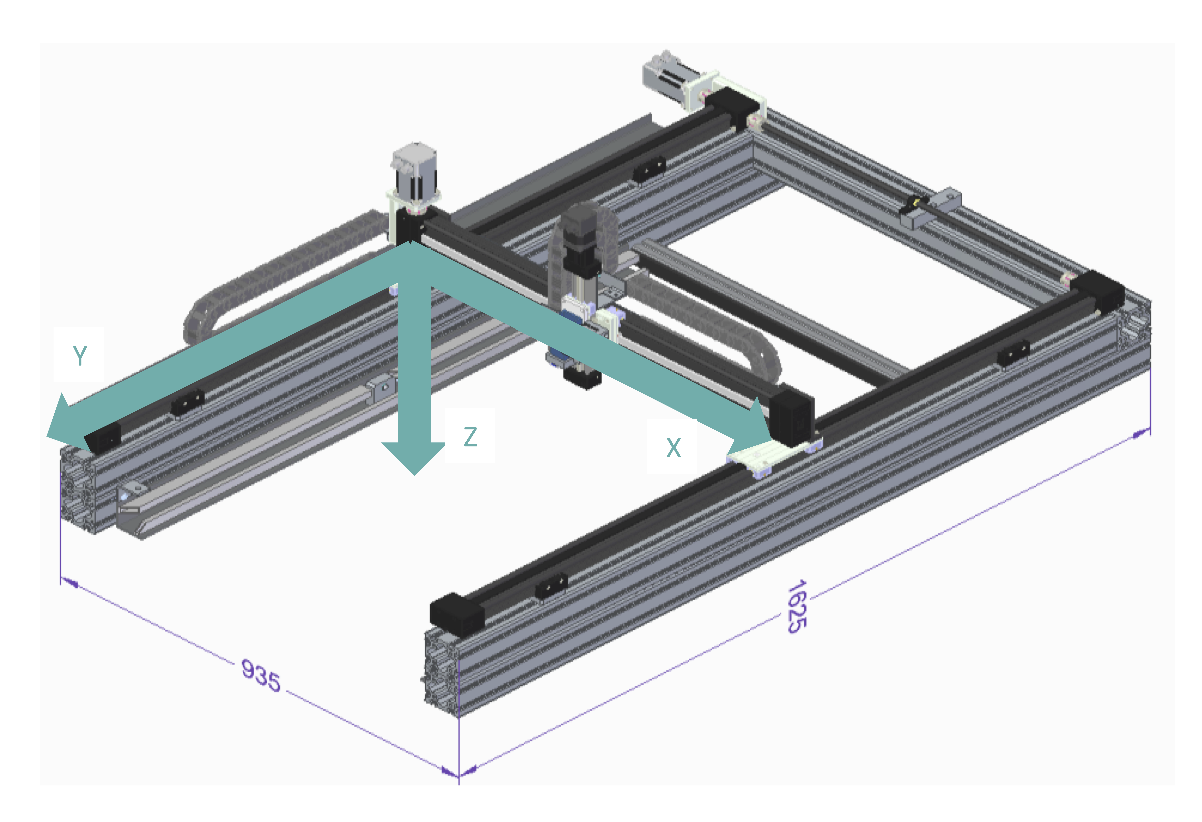
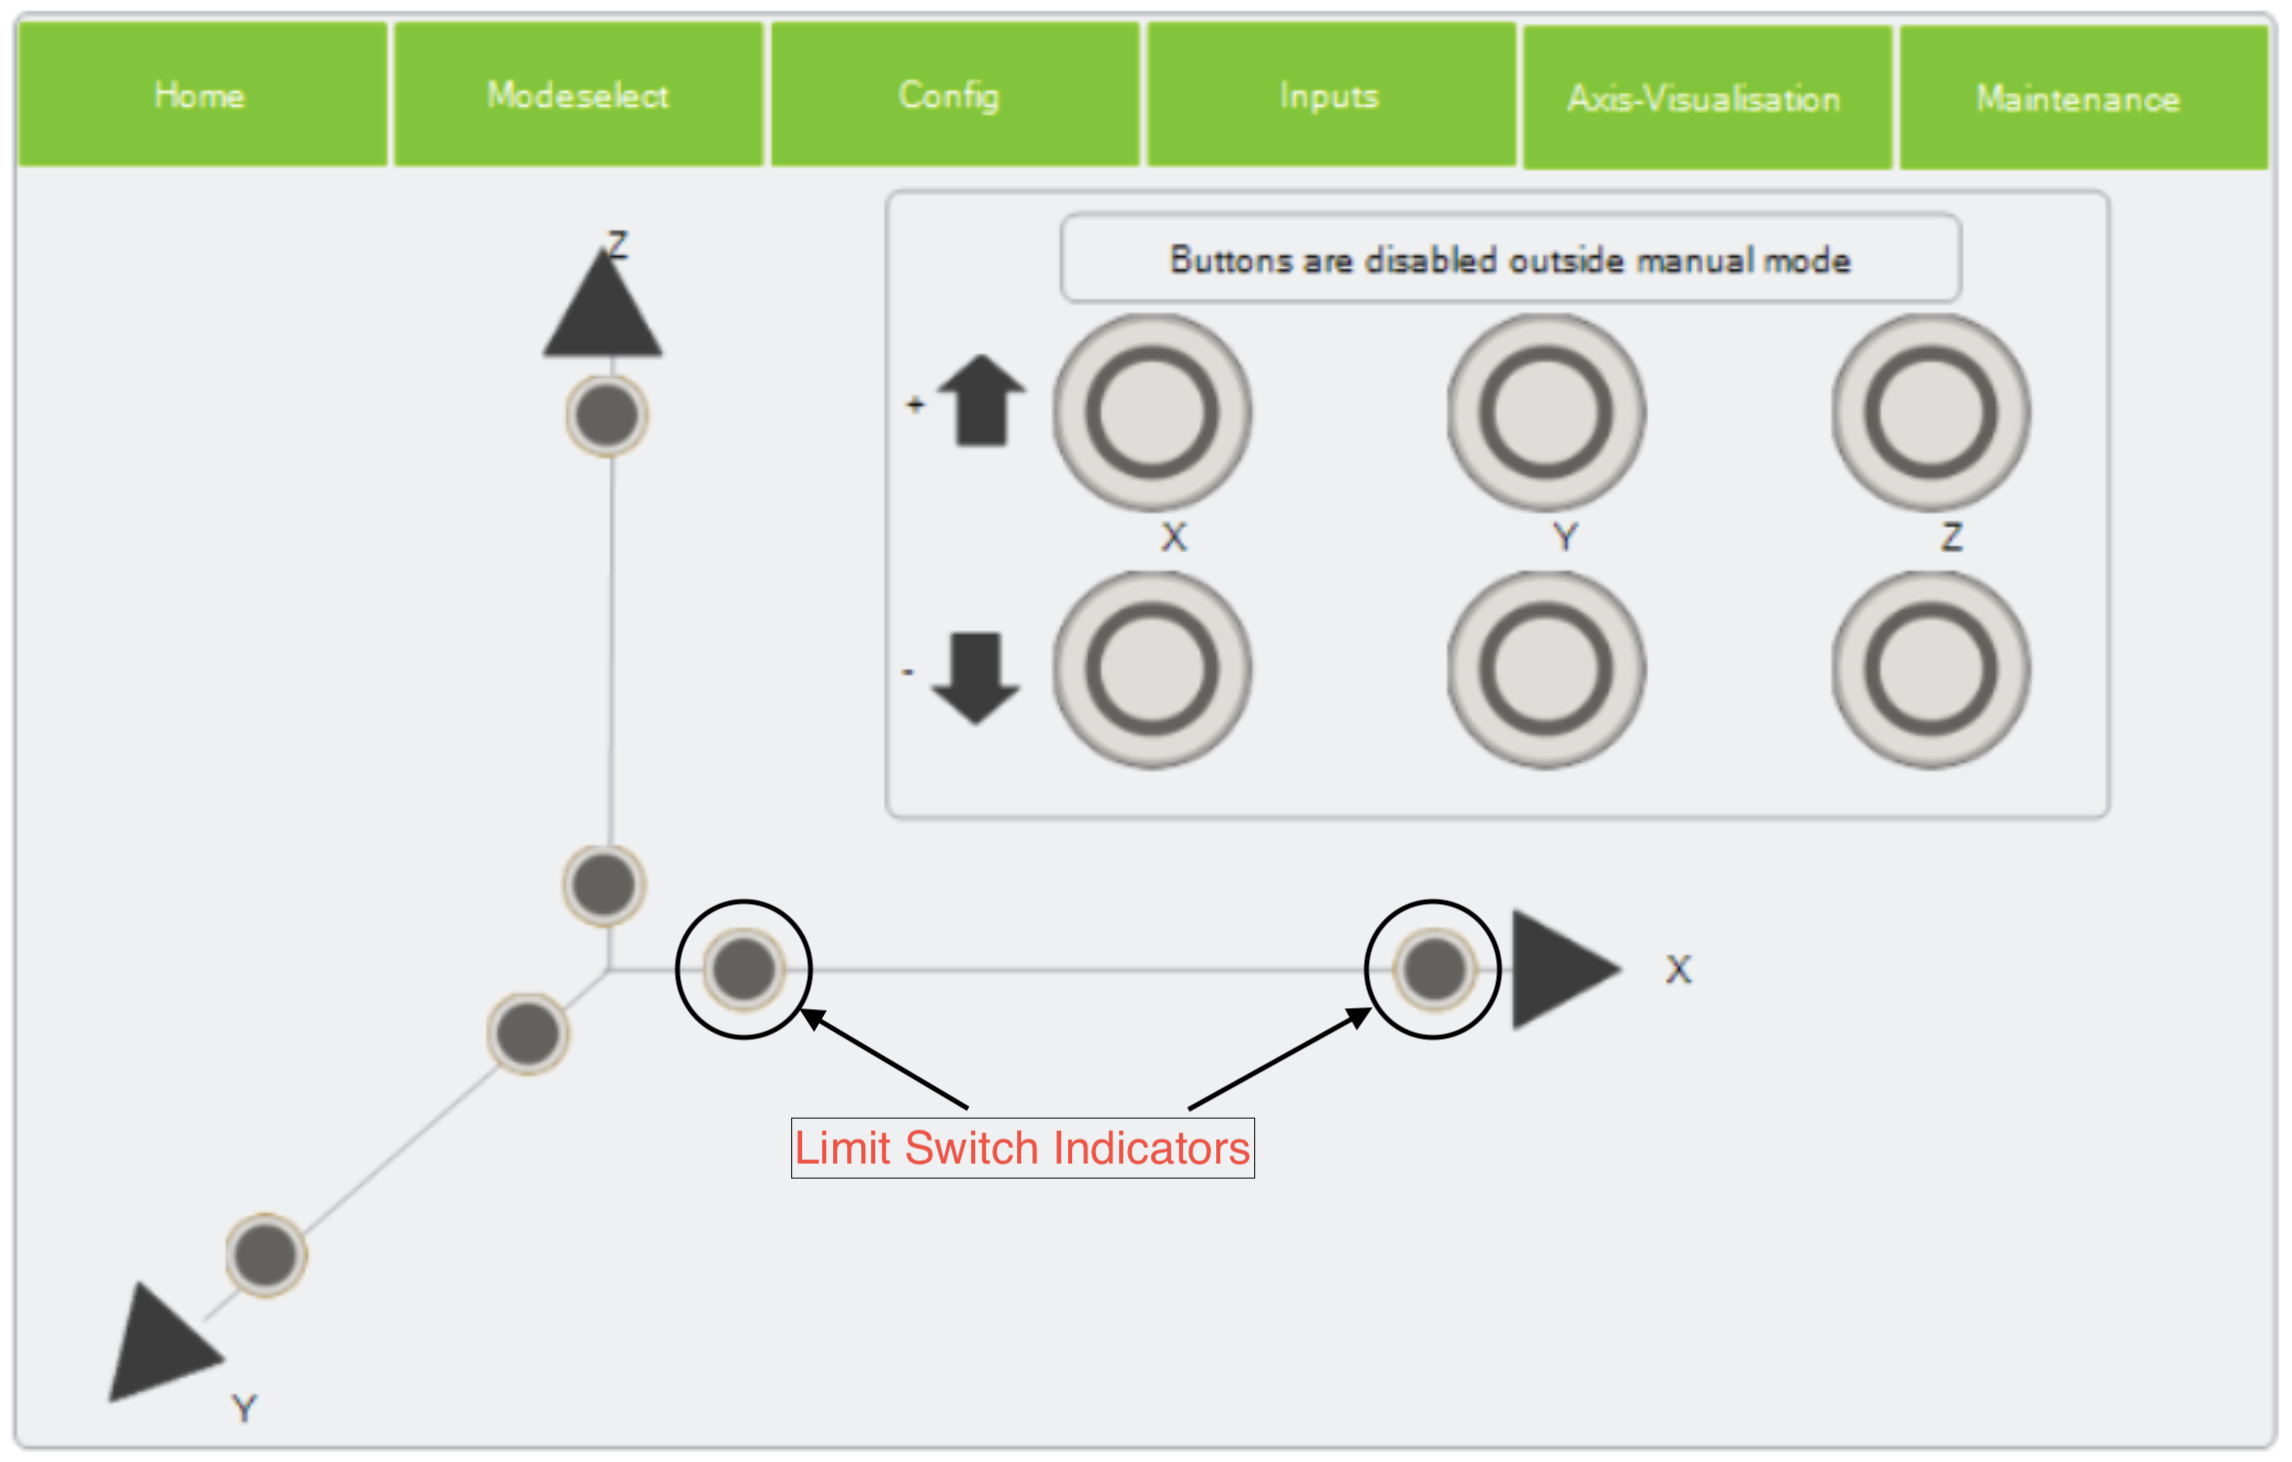
The GUI should now indicate that you entered the manual operation mode. To control the axis, switch to the Axis-Visualisation tab. The corresponding buttons will make the axis move in the desired direction.

The lights on the axis visualization represent the limit switches of the axis. If a light is on, the limit switch of the axis is pressed.
Move the axis to a desired starting position, the press start, and follow the instructions on the GUI. This location is saved as a reference point. This means that images are begun at this coordinates.
MOVE TO REFERENCE POINT
If a reference point was set, this mode will move the carriage to the set reference coordinated. If the machine is in IDLE, press start switch to the Modeselect tab * press Move To Reference, press start
The carriage will now move to the previously se reference point. If no reference point was set before, or the carriage is already at the set reference point, the carriage will not move.
Demo mode
If you want to demonstrate the machine (e.g. during a lecture), please follow these steps: be sure to be logged in, as Operator or Admin make sure that a reference point was set in manual mode, if not, do that first! if the machine is in IDLE, press start switch to the Modeselect tab select the wanted demonstration press start
If the axis are already corresponding to the reference point, press start again to begin the automatic/demo mode! If the current position is different to the reference point, the axis will move to the reference point. Press start again to start the automatic/demo mode!
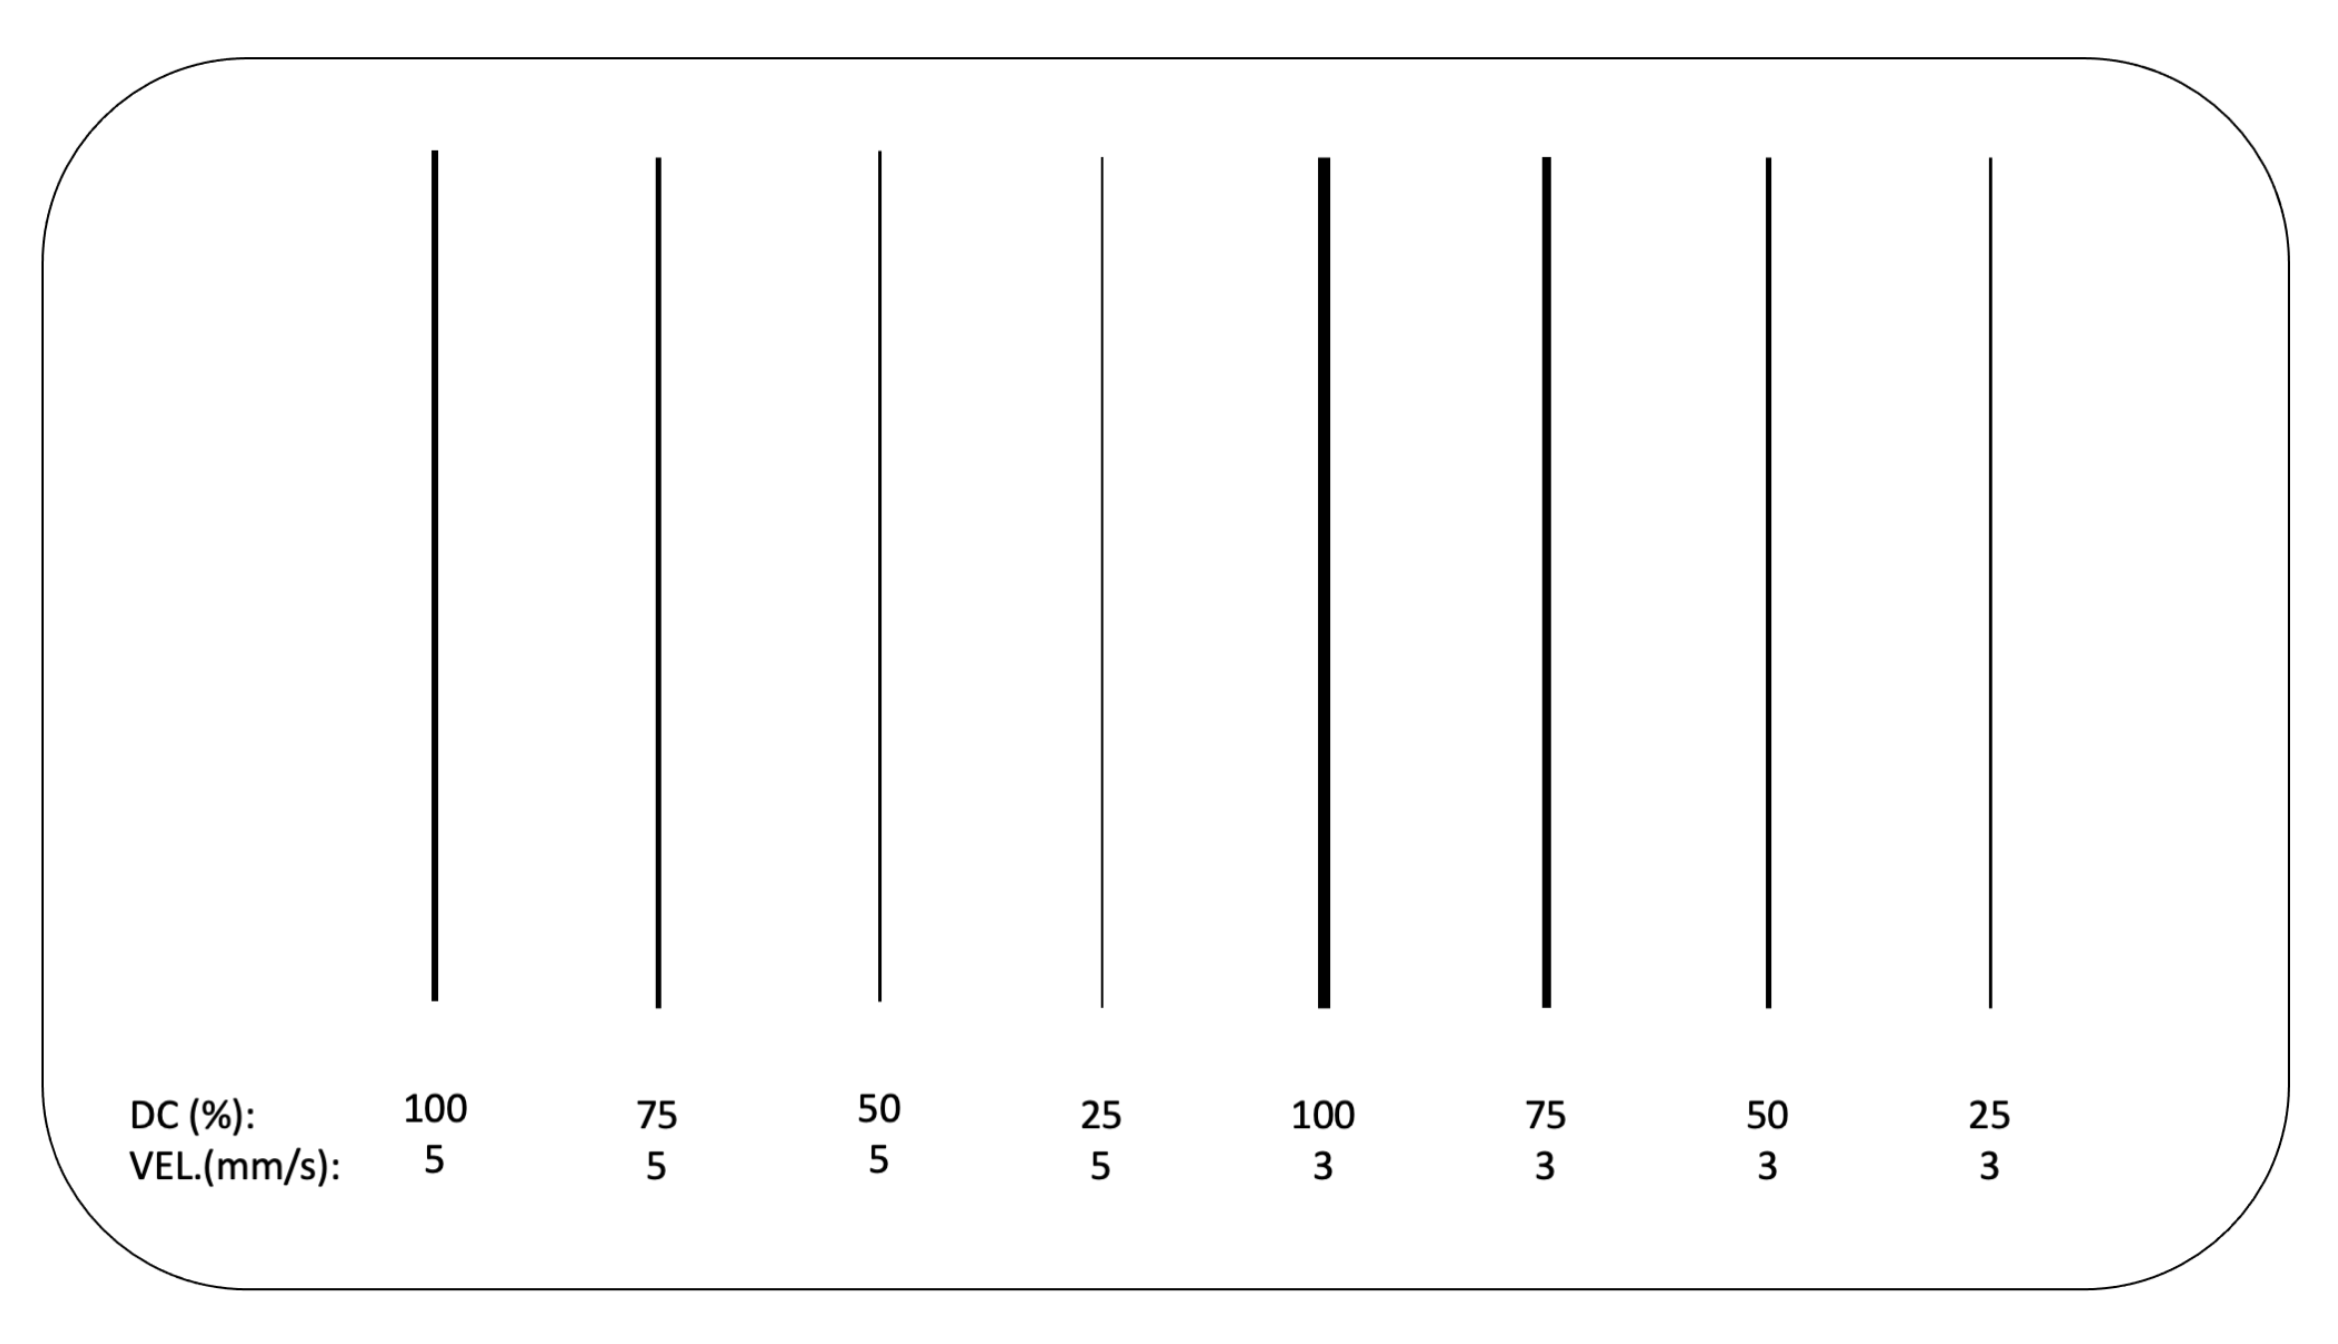
Choose the demo mode wisely! There are 2 buttons. Demo image -> THIS MODE WILL LASER THE TEST IMAGE, do not use this demo if there is nothing to be engraved inserted into the machine! Demo -> the machine will move
The demo mode will follow this image:

Maintenance Mode The machine has a maintenance tab in the GUI. This tab is mainly only operable, when logged in as Admin. To turn on the maintenance mode, press the maintenance Mode button.
In this mode the laser is pulsable manually by pressing the pulse Laser button, with a set Duty Cycle that may be adjusted by the slider.
Troubleshooting and debugging
Signal Tower Blinking Patterns
- no lights –> machine is not turned on, or the program on the PLC did not start –> turn on the machine or try reuploading the code to the PLC
- green static –> machine is in IDLE mode
- green blinking –> machine in MENU mode, please select operating mode
- orange static –> machine is synchronising encoder and motor position, please wait
- orange blinking –> Axis are enabled and may be moving
- red static –> on initial startup, safety circuit not closed, check safety circuit
- red blinking –> ERROR: Crash on axis detected, please check axis for blockages and reset Error
- red and orange blinking –> ERROR: Safety circuit was opened, please check safety circuit and acknowledge
- buzzer –> LOADING_CHECK or END_JOB state, follow instructions on GUI
The GUI is not accessible
- make sure that the Laserengraving station is connected to a network by LAN
- make sure the device that calls the GUI is connected to the same network as the laserengraver
- if you only see a red circle spinning, try reloading the page
The main switch is On, but the white light isn't
- Turn the main switch to OFF
- Open the electrical cabinet, and make sure that the main breaker in the electrical cabinet is set to ON
The machine seems to be stuck in a state
- switch to the Inputs tab
- press the soft reset button
If this does not solve the problem. Press the STOP button, press start. Try to restart the action that you were performing before the malfunction.
The machine seems to be stuck on a state and soft reset does not work
If the soft-reset does not work, the Wago 750-672 Stepper drivers, might have entered their own Error-State.
Try the following steps: press the Error Reset button in the Inputs tab. press the STOP button * retry the action that you wanted to performed
If this does not work try the following steps: * Open the electrical cabinet, check the Wago 750-672’s Error LED.
Active Voltage, do not touch anything inside the electrical cabinet!
- If the ERROR indicator is blinking, check that none of the axis is triggering any of the limit switches. If this is the case, move the axis away from the limit switches by hand.
- turn the machine off by the main switch.
- wait for the fans of the power supplies to turn off.
- turn the machine back on by the main switch
If this error keeps appearing after a certain pattern of actions, please create an issue in https://git.fh-aachen.de/lab-wollert/model-factory/laserengraver
