Driving Simulator
Table of Contents
Project Description
This project provides a CAN bus interface for the Arduino Due to process data from SimTools. The Arduino Due reads serial data for both motion control and dashboard information from two separate serial inputs and forwards the processed data to different CAN buses.
- Motion Control: Serial data is read and sent via CAN bus to Linak actuators.
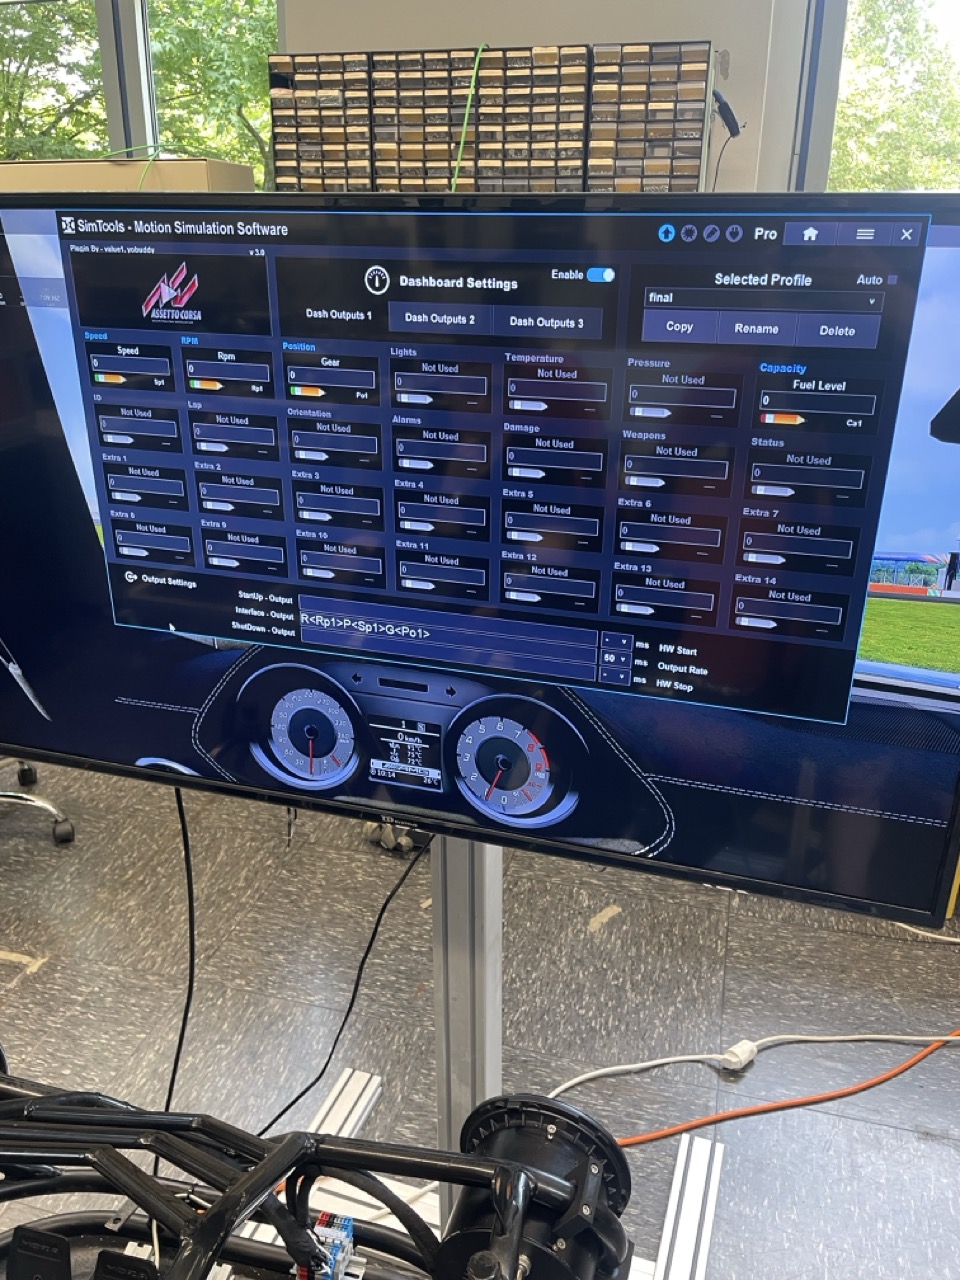
- Dashboard Information: Serial data is read and sent via a separate CAN bus to a PLC. The PLC is also the Dashboard showing the Data.
This setup enables a seamless integration of SimTools with motion systems and dashboard displays using CAN communication.
Installation
-
Hardware Requirements:
- Arduino Due
- 1 extra CAN transceivers (CJMCU-1051)
- 1 Serial-to-UART-Converter (CP2102)
-
Software Requirements:
- SimpleJ1939 library by Victor Chavez
- ArduinoLog library
- Wire library
- ArduinoJson library
- SimTools software on external PC
-
Setup:
- Clone this repository.
- Install necessary libraries in the Arduino IDE.
- Connect the Arduino Due to the PC's serial output running SimTools as well as to the CAN bus.
Simulator Startup Instructions
-
Check Power Supplies:
- Ensure that the fuses and switches of the power supplies are turned off.
-
Connect Power Strip:
- Plug the power strip into the wall socket.
-
Power On Power Supplies:
- Turn on the power supplies one by one.
-
Start PC:
- Boot up the PC and log in.
You'll find the credentials in the KeyPassX File in Sciebo
-
Start SimTools:
- Launch SimTools 3. If the interface does not appear, you may need to close and restart SimTools.
-
If you get an Error with the .NET Framework, you need to launch SimTools as administrator.
-
Power On the Wheel:
- Turn on the wheel using the power button located on the backside.
-
Configure the COM-Ports:
- Open Windows Device Manager and SimTools from the System Tray.
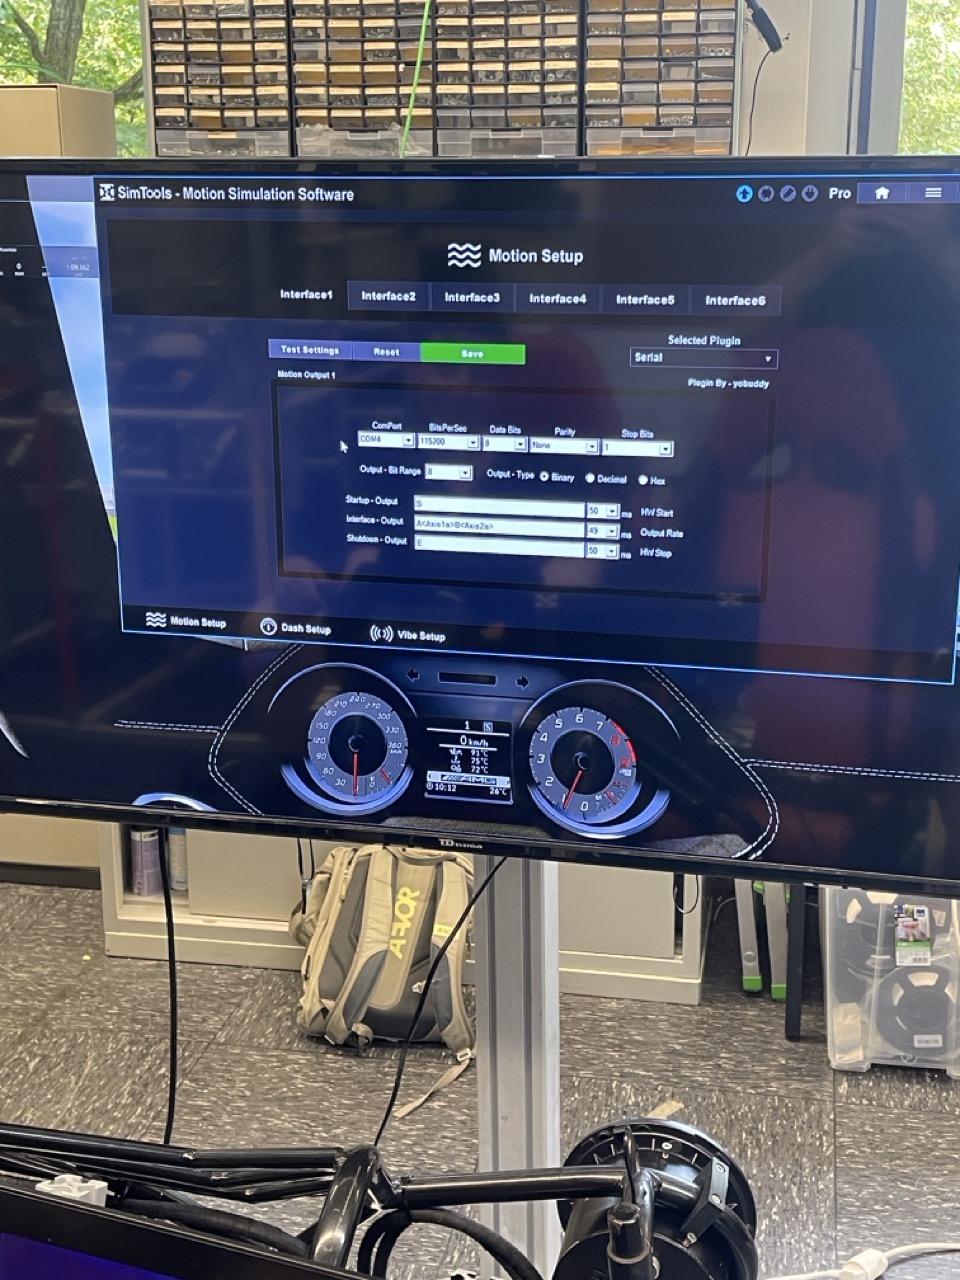
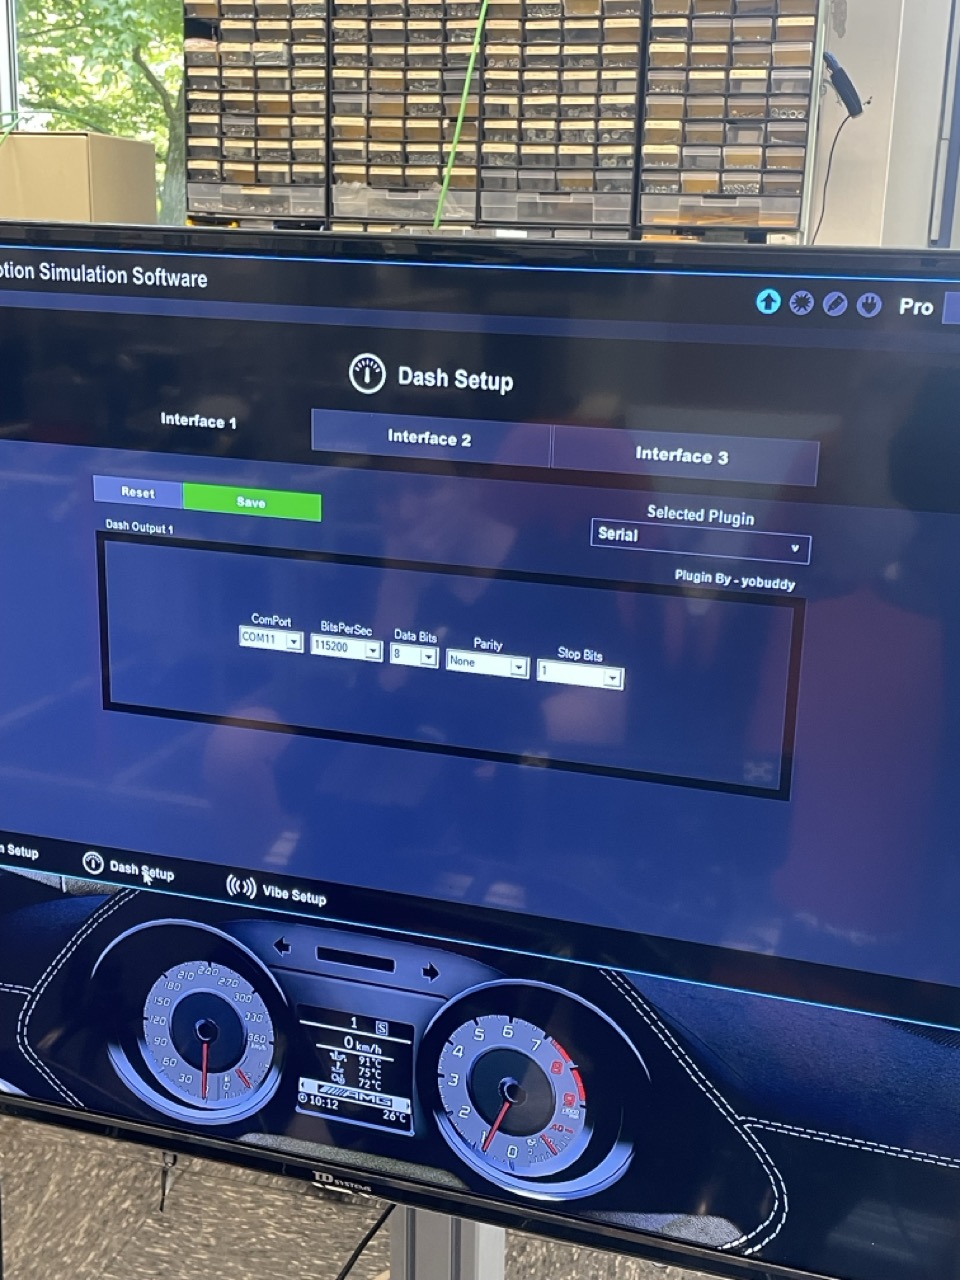
- In SimTools, navigate to Interface Settings, and ensure that the COM-Port matches "Arduino Due" (not "Arduino Due Programming Port!!").
- If a "Bossa Programming Port" appears instead of "Arduino Due," press the restart button on the Arduino.
- If the COM-Port does not match, select the correct COM-Port and click the green Save button.
- If the correct COM-Port is not listed, restart SimTools.
-
The COM Ports in the WINDOWS DEVICE MANAGER and in SIM TOOLS need to be set to the same value.
-
In the Windows device Manager, check that the baud rates are set accordingly for the Serial communication!


-
Check the Settings of Simtools:
- In the MotionSetup, click Test Settings , and move the Axis 1a & Axis 2a sliders. The simulator should move. After testing, click Stop Testing.
- Check other settings as shown in the provided images.

-
SimTools Options:
- In SimTools Options, ensure that auto-detect launched games is enabled.
-
Start a Game:
- Launch a game (e.g., Assetto Corsa via Steam).
- Verify the account via Unity email.
-
You'll find the user credentials for steam in the KeyPassX file.
-
VR and Monitor Setup:
- For VR, refer to the VR setup manual.
- For monitor setups, adjust the in-game resolution to match the screen and set the rendering mode to single-screen.
